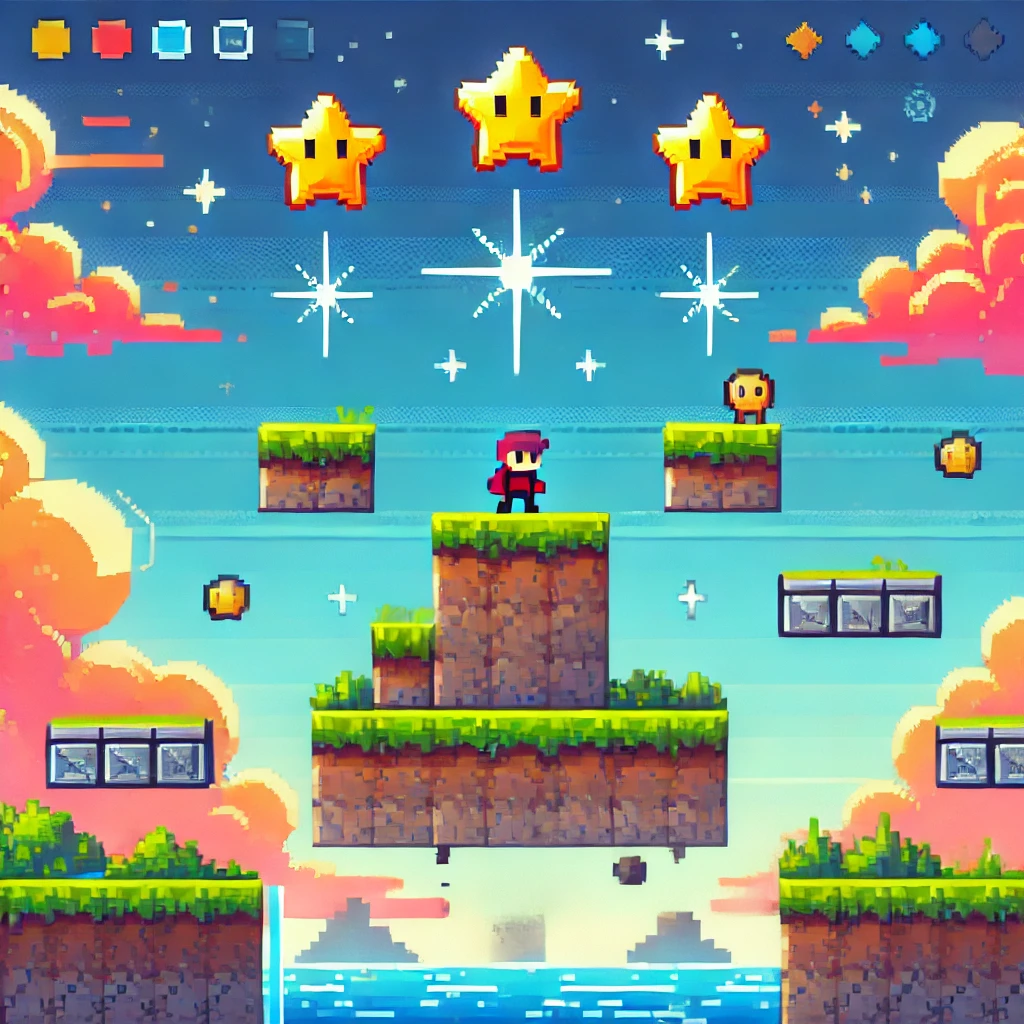
Ever wanted to make your own 2D game? Maybe something fun and interactive, like a classic arcade game or a simple platformer? Well, here’s some good news—thanks to Phaser.js, building your own game is more achievable than ever.
Phaser.js is a powerful 2D game framework for making HTML5 games. It’s perfect for beginners and experienced developers alike. In this post, we’ll walk through what Phaser.js offers, why it’s a great choice for game development, and how you can get started with building a game in no time.
Why Choose Phaser.js for Game Development?
Phaser.js is popular for a few big reasons:
- Easy to Learn: Phaser uses JavaScript, so if you’re comfortable with JavaScript, you’ll feel at home.
- Browser-Based: Since Phaser games run in a browser, they’re easily accessible to anyone with a web connection.
- Rich Features: Phaser comes packed with features, including physics engines, sprite animations, tilemaps, and more.
Whether you’re aiming for a simple game or a more complex project, Phaser’s tools make the whole process feel manageable and fun.
Getting Started with Phaser.js
Before we dive in, here’s what you’ll need:
- Basic knowledge of JavaScript: Familiarity with JavaScript syntax and functions is helpful.
- Text editor: VS Code or any code editor of your choice.
- Phaser library: You can download it from the Phaser website or include it via CDN.
Once you’re set up, let’s look at the core elements you’ll be working with in Phaser.
Core Concepts in Phaser.js
Phaser’s structure revolves around a few main concepts. Let’s break them down:
1. Game Scenes
In Phaser, a scene is like a “stage” where all the action happens. It’s where you place your game objects, set up physics, and add interactions. You can think of scenes as the individual “levels” or sections of your game.
2. Sprites and Images
Sprites are the images you move around, like the main character or enemies. Phaser lets you create, animate, and control sprites with ease. Sprites can also have physics properties, making them respond to collisions or gravity.
3. Physics Engines
Phaser comes with built-in physics engines, Arcade Physics and Matter.js. These engines handle the calculations for gravity, velocity, and collisions. For a basic game, Arcade Physics is usually enough, but if you want more complex interactions, Matter.js offers more flexibility.
4. Input Handling
Input handling is how your game responds to player actions, like keyboard presses, mouse clicks, or touches. Phaser provides straightforward methods for handling different types of input.
Building a Simple Game in Phaser.js
Let’s walk through creating a basic game—a simple platformer where the player character jumps to collect stars.
Step 1: Setting Up the Game Scene
To start, create a new Phaser game instance and set up a scene. Your scene will have three core functions:
- Preload: Load your assets (like images and sound files) here.
- Create: Set up your game objects, such as the player character, platforms, and collectibles.
- Update: Define the game logic that runs each frame.
const config = {
  type: Phaser.AUTO,
  width: 800,
  height: 600,
  scene: {
    preload: preload,
    create: create,
    update: update,
  },
  physics: {
    default: 'arcade',
    arcade: {
      gravity: { y: 300 },
      debug: false,
    },
  },
};

const game = new Phaser.Game(config);
Step 2: Preload Your Assets
In the preload function, load the images you’ll need. This might include the player sprite, platform images, and stars.
function preload() {
  this.load.image('sky', 'path/to/sky.png');
  this.load.image('platform', 'path/to/platform.png');
  this.load.image('star', 'path/to/star.png');
  this.load.spritesheet('dude', 'path/to/dude.png', { frameWidth: 32, frameHeight: 48 });
}
Step 3: Create Your Game Objects
Now, in the create function, set up the game world. Add a background, create platforms, and add a player character.
function create() {
  this.add.image(400, 300, 'sky');

  // Add platforms
  platforms = this.physics.add.staticGroup();
  platforms.create(400, 568, 'platform').setScale(2).refreshBody();

  // Add player character
  player = this.physics.add.sprite(100, 450, 'dude');
  player.setBounce(0.2);
  player.setCollideWorldBounds(true);

  // Add stars
  stars = this.physics.add.group({
    key: 'star',
    repeat: 11,
    setXY: { x: 12, y: 0, stepX: 70 },
  });
}
Step 4: Add Physics and Player Controls
To make the game interactive, you’ll want to add physics, so the player can jump, and make the stars collectible. You can add keyboard input to control the player’s movements.
function update() {
  cursors = this.input.keyboard.createCursorKeys();

  if (cursors.left.isDown) {
    player.setVelocityX(-160);
  } else if (cursors.right.isDown) {
    player.setVelocityX(160);
  } else {
    player.setVelocityX(0);
  }

  if (cursors.up.isDown && player.body.touching.down) {
    player.setVelocityY(-330);
  }
}

Expanding Your Game
Once you’ve got the basics down, you can expand your game by:
- Adding new levels: Create multiple scenes with different challenges.
- Power-ups and hazards: Add new game objects to make it more exciting.
- Scores and leaderboards: Track player scores and create a leaderboard for extra competition.
Why Phaser is a Great Choice for Beginners
Phaser has an active community, tons of tutorials, and plenty of resources to help you when you’re stuck. It’s also light enough for browser games but flexible enough to handle more complex projects if you want to push your skills further.
Wrapping Up
Game development can be daunting, but Phaser.js makes it surprisingly approachable. By focusing on simple concepts like sprites, scenes, and physics, Phaser allows you to start small and build something that’s fun and playable in just a few hours. So, why not give it a try? You might surprise yourself with what you can create.