
Building a decentralized application (DApp) might sound complex, but it’s actually quite manageable with a little guidance. So, if you’re itching to dive into the world of blockchain and build something on the decentralized web, you’re in the right place. Here’s a straightforward, step-by-step guide to getting your first DApp off the ground—from concept to deployment.
Step 1: Define Your Idea
First things first: what will your DApp do? Decentralized applications can cover everything from finance (like lending platforms) to gaming (play-to-earn) to simple tools for sharing information securely. Think about what problem you want to solve or what functionality would be cool to have in a decentralized environment.
Pro tip: Start small! For your first DApp, pick something manageable, like a simple voting app or a basic to-do list. You’ll get familiar with the tools without getting overwhelmed.
Step 2: Set Up Your Development Environment
To start coding, you’ll need a few basic tools. Here’s a quick rundown of what you’ll need:
- Node.js: A JavaScript runtime that lets you run code on the backend. You’ll need this to install packages and run scripts.
- Truffle or Hardhat: Both are development frameworks for building and testing Ethereum smart contracts. Truffle is beginner-friendly, while Hardhat has some advanced debugging features.
- MetaMask: A browser extension that acts as a crypto wallet. You’ll use it to interact with your DApp and test transactions.
- Ganache: A local blockchain emulator (works with Truffle) that allows you to test your smart contracts without spending real Ether.
Once you have these set up, you’re ready to start coding.
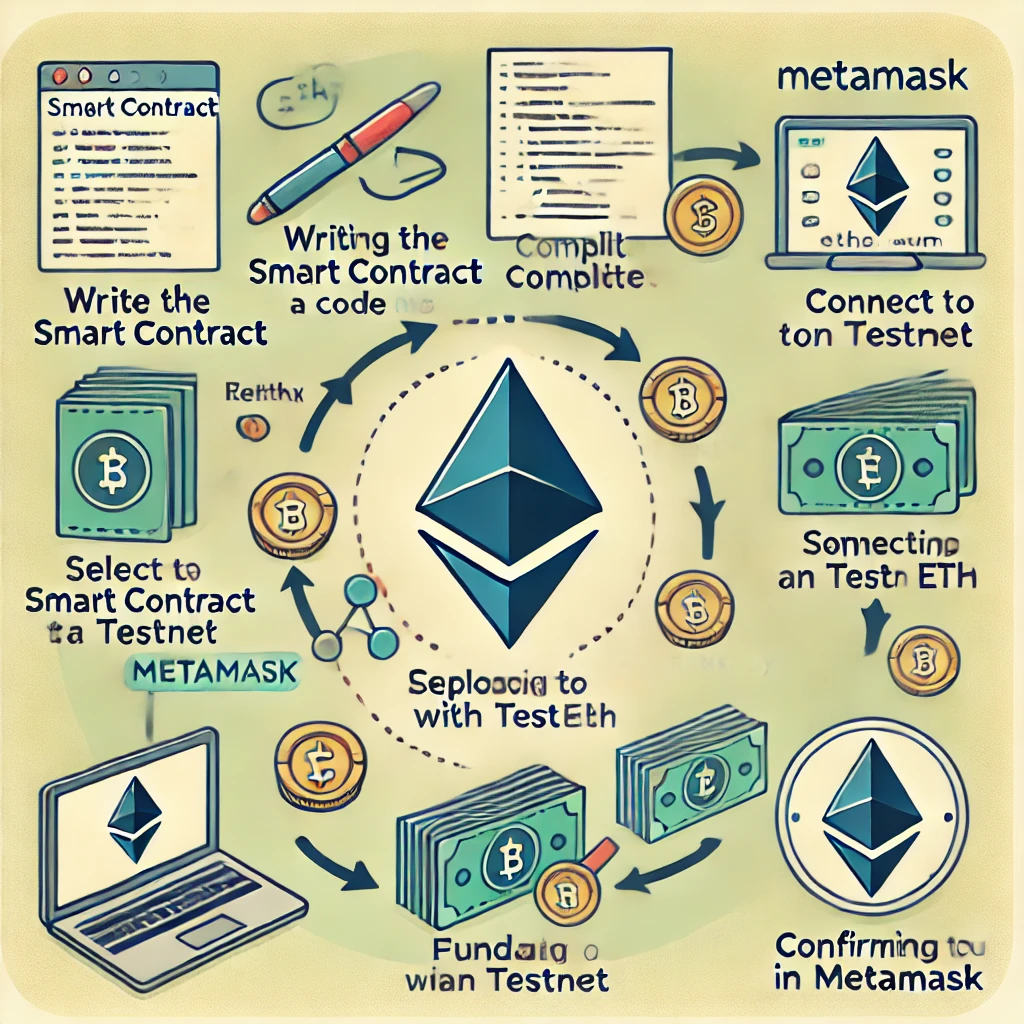
Step 3: Write Your Smart Contract
The smart contract is the heart of your DApp. It’s the code that runs on the blockchain and handles all the decentralized logic. You’ll write this in Solidity, Ethereum’s programming language.
Example Smart Contract
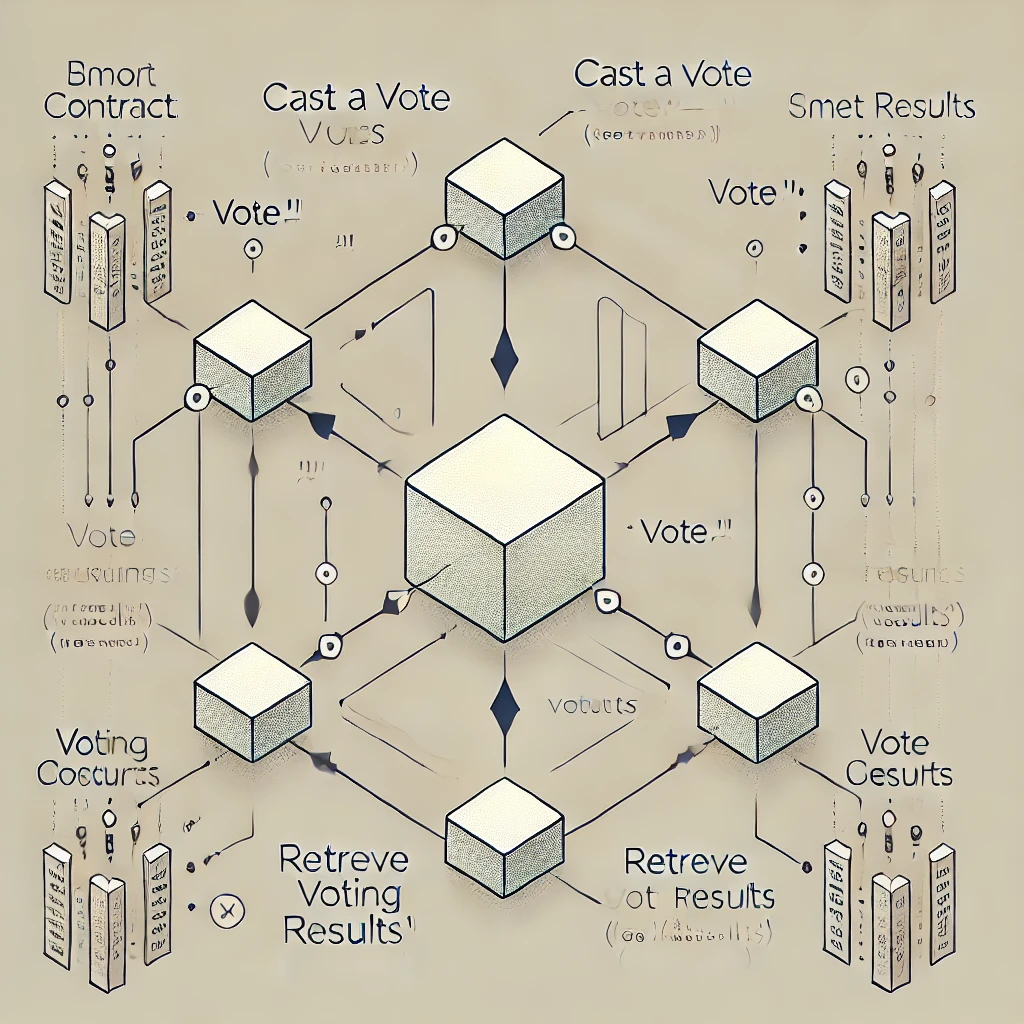
Let’s say you’re building a simple voting app. Your contract could have functions like:
vote()to submit a vote.getResults()to tally votes.reset()to start a new voting round.
Here’s a tiny snippet to give you an idea of what it looks like:
pragma solidity ^0.8.0;

contract SimpleVote {
    mapping(address => bool) public voters;
    uint public votes;

    function vote() public {
        require(!voters[msg.sender], "Already voted.");
        voters[msg.sender] = true;
        votes++;
    }

    function getResults() public view returns (uint) {
        return votes;
    }
}
Step 4: Test Your Contract
Before deploying, make sure your contract works as expected. Truffle and Hardhat both have built-in testing tools, so you can write tests to simulate interactions and ensure your code does what it’s supposed to do.
Common Tests
- Does the contract tally votes correctly?
- Does it prevent duplicate votes from the same address?
- Does it revert when someone tries to vote twice?
Testing is crucial, especially since smart contracts are immutable once deployed. Bugs on the blockchain can’t be easily fixed, so be thorough!
Step 5: Deploy to a Testnet
Once you’re confident your contract works, deploy it to a testnet—a blockchain that simulates the main Ethereum network but doesn’t require real Ether. Rinkeby, Ropsten, and Kovan are popular choices.
- Compile: Compile your contract using Truffle or Hardhat.
- Deploy: Use your development framework to deploy the compiled contract to the testnet.
- Interact: Use MetaMask to view your contract on the testnet and start testing interactions.
Step 6: Build the Frontend
Now that your contract is live on the testnet, it’s time to build the interface where users can interact with it. You’ll need basic frontend skills (HTML, CSS, JavaScript) and a bit of knowledge about web3.js (a JavaScript library that connects your frontend to the Ethereum blockchain).
Frontend Libraries
- React: A popular JavaScript library for building user interfaces.
- web3.js or ethers.js: JavaScript libraries that help you interact with the Ethereum blockchain.
- Bootstrap or Tailwind: CSS frameworks to make your frontend look polished without too much custom styling.
Step 7: Connect the Frontend to the Smart Contract
Using web3.js or ethers.js, you’ll connect your frontend to the deployed contract so users can interact with it.
Key Parts of the Connection
- Provider: This is how your app communicates with the blockchain. MetaMask acts as your provider in most cases.
- Contract Instance: Use the contract’s address and ABI (Application Binary Interface) to create an instance that your frontend can interact with.
- Function Calls: Use JavaScript functions to call your contract’s functions. For example, you can call
vote()when a user clicks a “Vote” button.

Step 8: Test the Full DApp
With the frontend connected, it’s time for another round of testing. This time, you’ll test the entire workflow—how users interact with the frontend, how it communicates with the contract, and how the contract behaves.
Checklist
- Does the vote button trigger the
vote()function correctly? - Are errors (like duplicate votes) displayed to the user?
- Is the user experience smooth and intuitive?
Step 9: Deploy to Mainnet
Ready to go live? Deploy your smart contract to the Ethereum mainnet, where users can interact with it for real. Keep in mind that deploying to mainnet costs gas fees (real Ether), so make sure everything is finalized and tested before hitting deploy.
Step 10: Maintenance and Updates
Once your DApp is live, you may need to maintain it, especially if users start reporting bugs or suggesting features. While you can’t change the deployed smart contract, you can add new contracts or tweak the frontend.
Wrapping Up
Building a DApp isn’t as hard as it might seem. It’s all about breaking it down into manageable steps—planning, coding the smart contract, creating a frontend, and connecting the two. Once you’ve gone through the full process, you’ll see that DApp development is more accessible than ever.
So go on, get building! There’s a whole world of decentralized possibilities out there, and this is just the beginning. Happy coding!